After the long and rambling sometimes confusing post last week, I thought I’d best be a bit simpler this post.
Among some of the tools that I’ve used down the years for obtaining a successful exposure has been a Weston Exposure Meter.
I was fortunate enough to be gifted one of these as a teenager. As time has progressed I’ve owned about five. Three met with sad endings, being dropped or mishandled, one I think was stolen, and one became lost when we moved, once or twice.
There are some clever settings on the dial that records the correct exposure, and to avoid making this a long post I’ll just ignore them, other than to say they could be used to determine the exposure for the darker or lighter areas.
The meter was not battery operated, but used a light sensitive cell to read the light values. It could read a ‘Reflected” reading by pointing the meter at the subject and reading the light ‘reflected’ back.
The meter was also supplied with a little plastic dome, called uncannily, an “Invercone”. To use it in this mode, I’d attach the plastic dome to the meter and then hold the meter in the subject’s position and point the meter at the light source for an “Incident” reading of the light falling on the subject. (Bit more complex to describe here.)
For most of my own work over the years, I’ve always preferred the Incident method. Once you change to a meter built into the camera, incident light readings become hard, and so called solutions to that problem are at best workarounds.
Incident readings overcomes all the issues of working out where a ‘zone’ should sit.
If I were to take a photo of say, Ansel the fluffy Mid-toned Grey Cat in bright sunshine, then one of Fluffy under a bush in the shade, and then a third of Fluffy looking out the window on a cold overcast freezing day, the amount of light falling on Fluffy is going to be significantly different. Obviously the greatest amount of light falls on the sunny day version. And the meter reacts accordingly and I’d change the rotating dial to match the Light Reading value on the screen. The BIg Red Arrow points the way.
Just for the ducks of it, I took my D500 and a 55mm lens outside and photographed the garden. I set the camera to A for Auto and made a picture. ISO 100, 1/125. f/11
Then I set the camera to M for Manual and took the trusty Weston and waved it about a bit, and found it read, ISO 100, 1/125th, f/11. I set that and made the shot.
Looked at both on the screen side by side and didn’t perceive any differences. 🙂
Not that I was surprised. 🙂
Here is a look at my current companion. Although these days it does spend most of its time in the camera cupboard. It also carries a scar of honour in the crack on the glass from one of its many adventures The “Invercone” is in the background.
And I placed it on an 18% reflectance Grey Card (Kodak R-27)

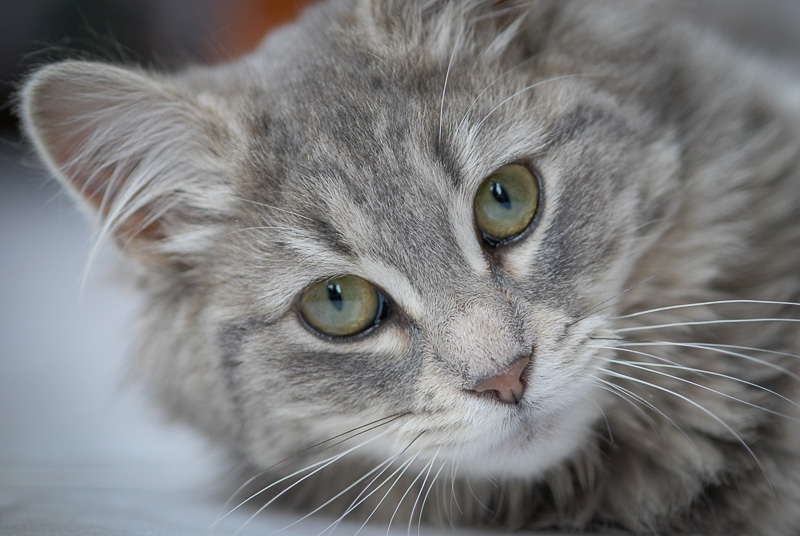
And here is Ansel, the Fluffy Mid-toned Grey Cat. Just in case anybody wondered.
Fluffy and I were being naughty, as she was sitting on my daughter’s table looking out the window.